
Introduction
If you want to create mobile applications for iPhones (iOS operating system) then you have many ways to do that: Flutter, React Native, Cordova… But if you can write code in C# there are also a few frameworks: Xamarin, MAUI and Avalonia.
Currently I’m working with Avalonia UI so I wanted to deploy my apps for testing to my iPhone. The easiest way is to use Apple Developer account from Apple Developer Program and use TestFlight service. Although TestFlight is free, a paid developer control is required to use it (100$ per year). For me it was too much to pay for possibility to only test my apps.
But there is some free alternative: Free provisioning. To use it you need to have computers with MacOS (with installed Xcode) and Windows (with installed Microsoft Visual Studio), free Apple ID account and iPhone of course 😉
So today I would like to show you how you can use Free Provisioning with Avalonia UI framework.
How to use?
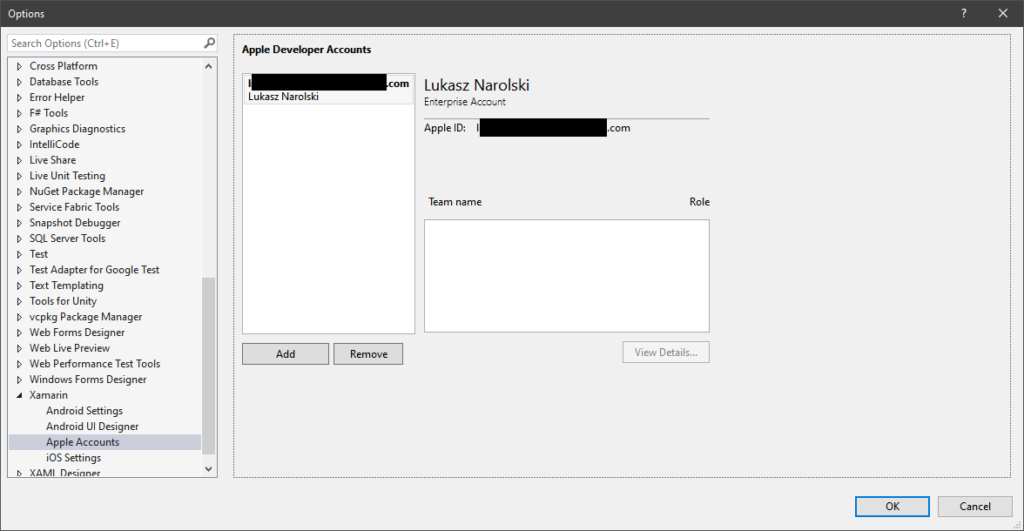
At the beginning set up Apple ID account in Visual Studio (Tools -> Options -> Xamarin -> Apple Accounts).

Next you have to turn on Remote Login in your Mac (in Mac: System settings… -> General -> Sharing -> Remote Login). After that pair and connect with your Mac from Visual Studio in Windows (Tools -> iOS -> Pair to Mac).
Then open Visual Studio solution that you want to deploy to iPhone (it’s „FreeProvisioning” in my case). You can try to run your app in iOS simulator to check if connection is working fine and if code is building without errors.
Now it’s time to config Free Provisioning.
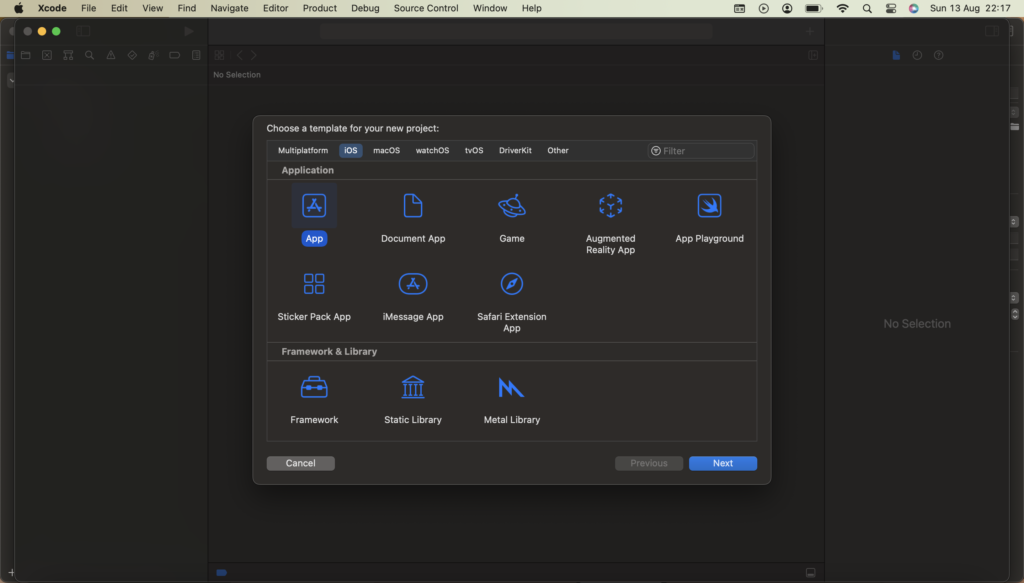
On Mac create in Xcode default iOS app project (File -> New -> Project). This project is needed to create keys used for our Avalonia app deploy (just create project, you don’t need to write any code in Xcode).
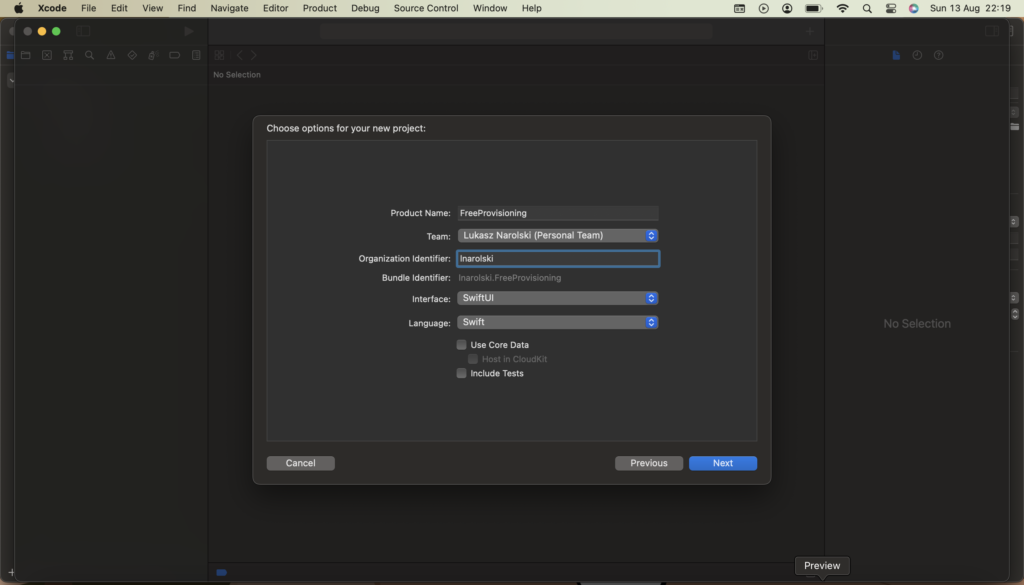
In next page of wizard fill text inputs (remember to use your Apple ID account in „Team” field) and before clicking „Next” remember text showed in „Bundle Identifier” property (we will use it in future).
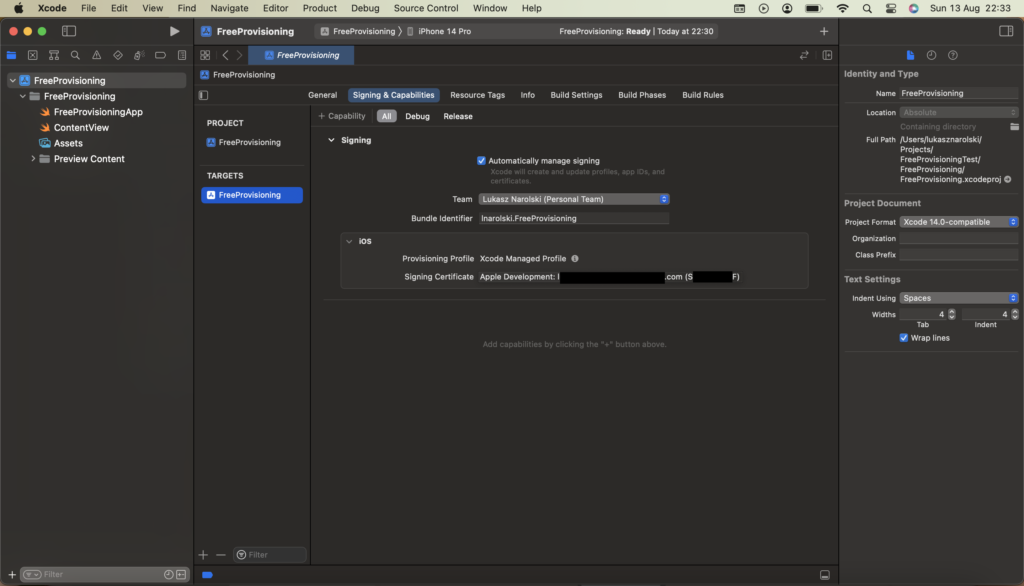
After that step you should see opened project in Xcode. Click using left mouse key on your project name in Navigator (by default it’s top position in tree on the left). In new project properties go to „Signing & Capabilities” tab. Remember value from „Signing Certificate” field.

Now go back to computer with Windows and open in notepad *.iOS.csproj file (in my case „FreeProvisioning.iOS.csproj”) in your iOS project directory. Add „CodesignProvision” (with your „Bundle Identifier”) and „CodesignKey” (with your „Signing Certificate”) properties with values from Xcode (you can see example in screenshot above).
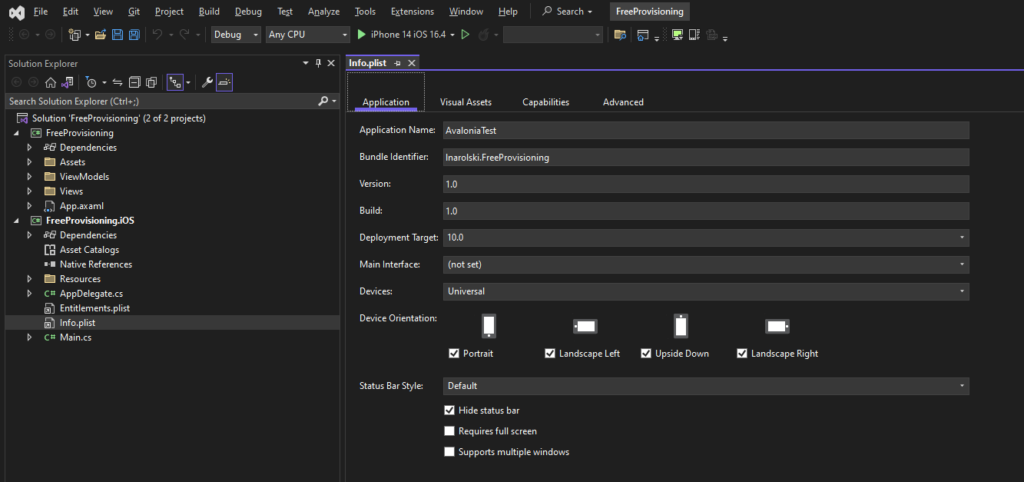
You have to also set up in „Info.plist” file property „Bundle Identifier” with value that you saw in Xcode.
Now set up your iPhone to be used in developer mode. Connect iPhone to Mac (accept and agree all pop-up’s on Mac and iPhone) and in iPhone go to Settings -> Privacy & Security, scroll down to the Developer Mode and turn it on. Probably after first deploy try you will have to give needed permits in „VPN & Device Management” page (Settings -> General -> VPN & Device Management).
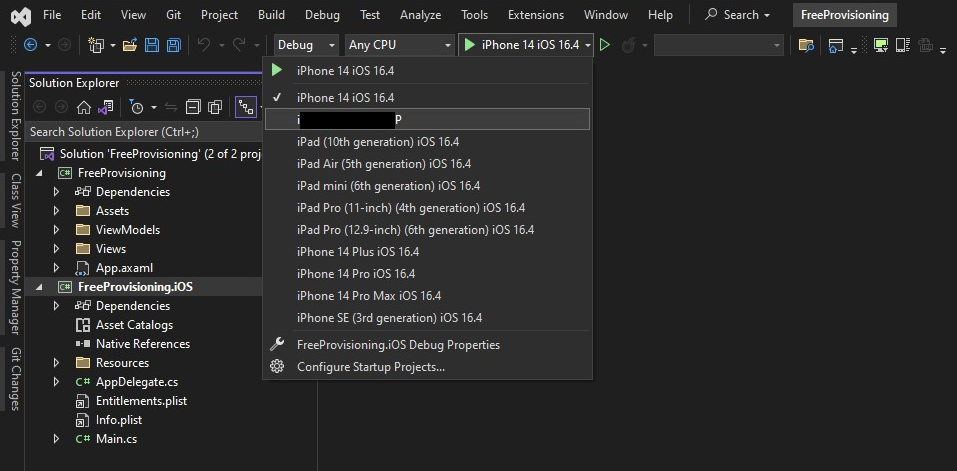
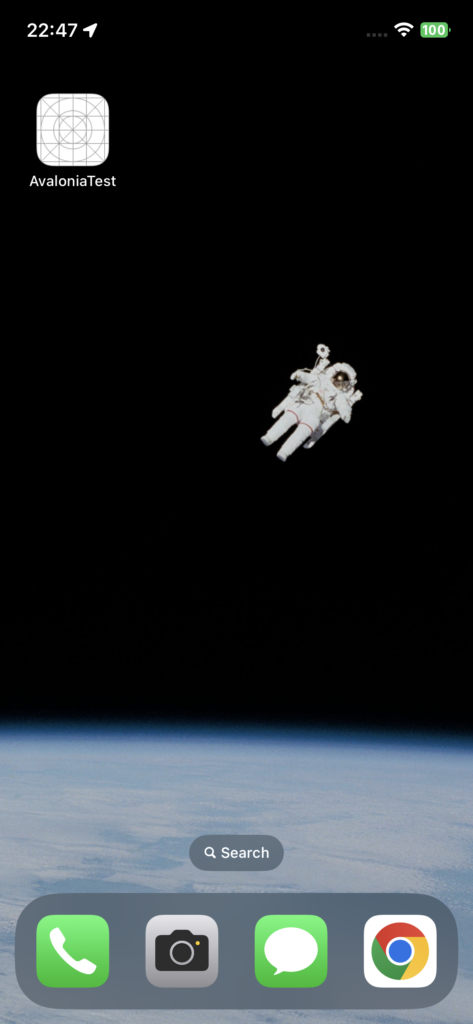
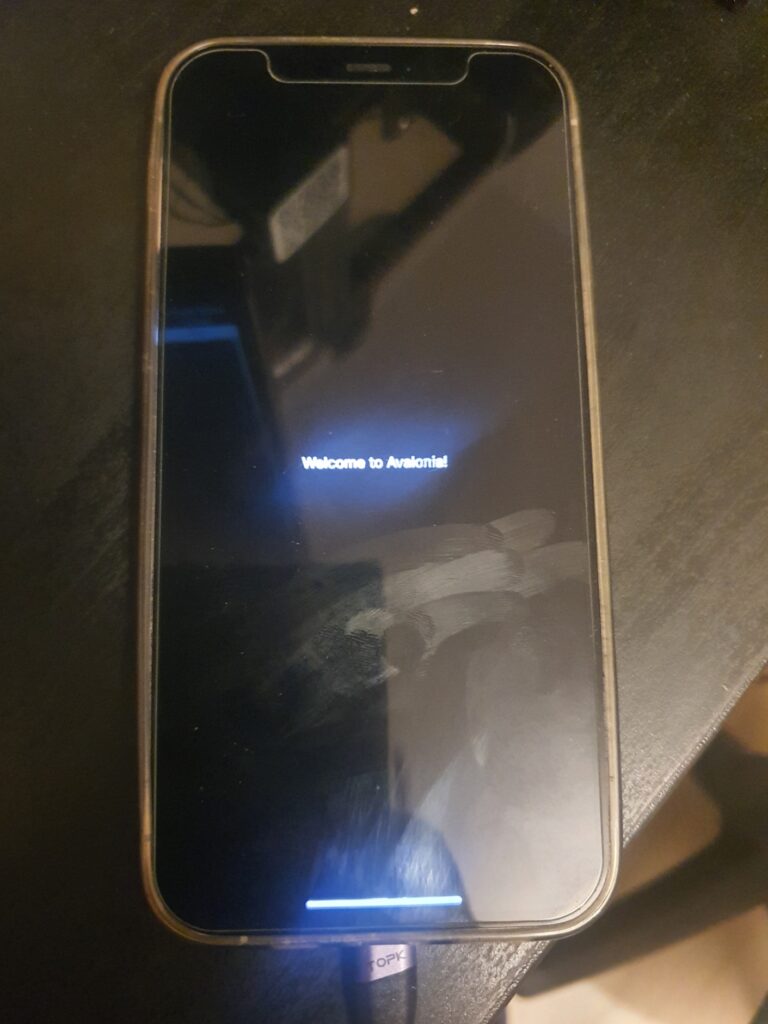
After successful set up you should see your iPhone on device list in Visual Studio. Select your device and run app with debug from Visual Studio.

If iPhone is showing „App cannot be installed because its integrity could not be verified” errors then you can try to run your app in Release mode than in Debug. You can also try to completely remove app from iPhone and try to deploy it again.
Conclusion
If there are any problems during described process then you should also check Free Provisioning manual in MSFT docs.
I also had many problems with the configuration of the whole process, which I described above. I believe the problem is that Free Provisioning is too complex. But after many attempts and restarts of used devices and software finally it started to work.
With Free Provisioning you can test your apps with some limitations (check MSFT docs to read more), but in my case I could even test Bluetooth connection without any problems.
Solution presented in this post should also work with Xamarin and MAUI so if you have any problems in that frameworks then try to use my instructions 🙂