
Idea
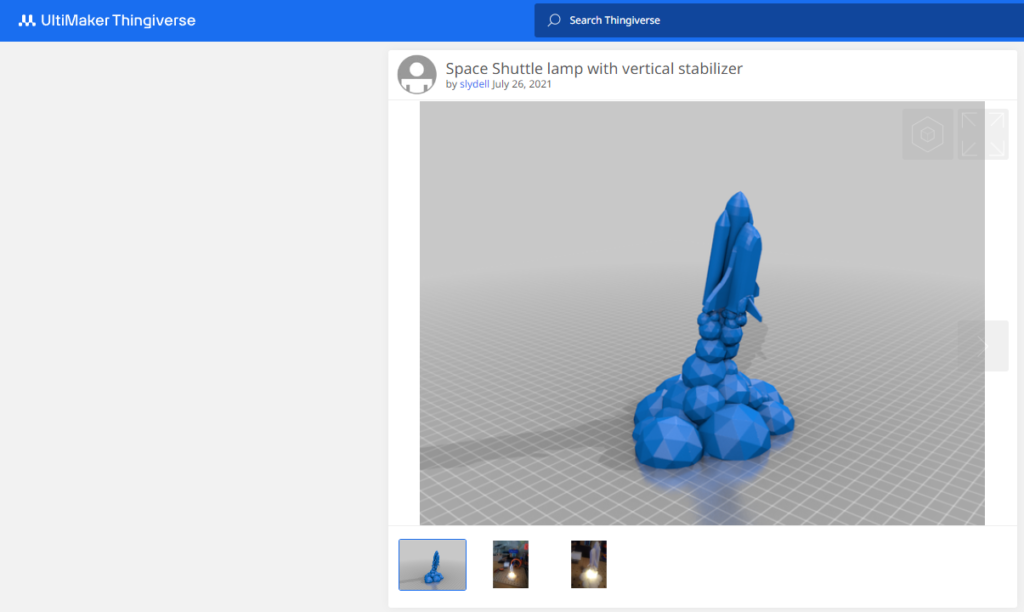
When I was looking for project to print on my new 3D printer I found very interesting model on Thingiverse:
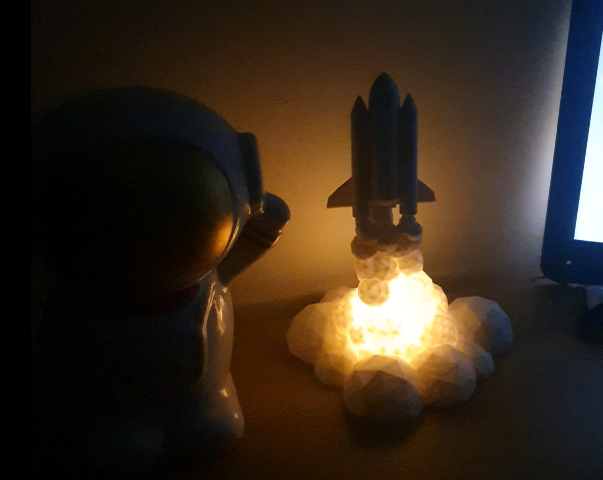
Since I’m a big fan of all astro things, I thought that I had to print this. In after-printing pictures I also saw that I can add light to the base of Space Shuttle to simulate the operation of real engines. But static lamp is not what could do the job – it had to smoothly blink 😉 And why not to try automate this light to turn on after sunset?
But that was problems for the future – now was printing time.
Printing and soldering
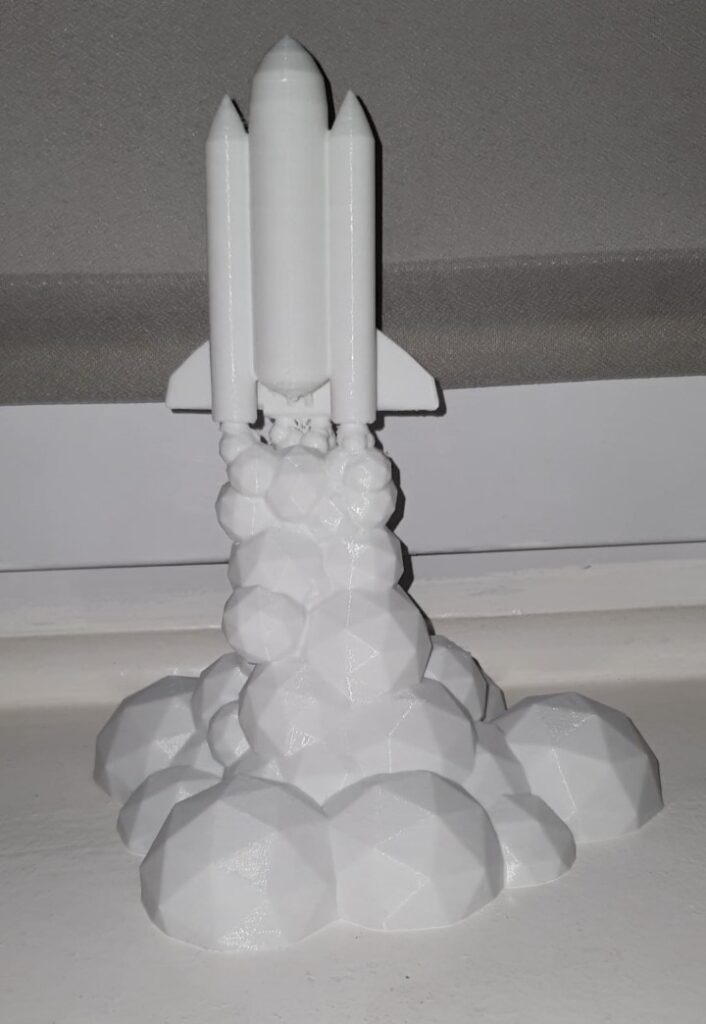
I was prepared for quick printing, because I had calibrated printer. After 26 hours I’ve got effect that you can see below:
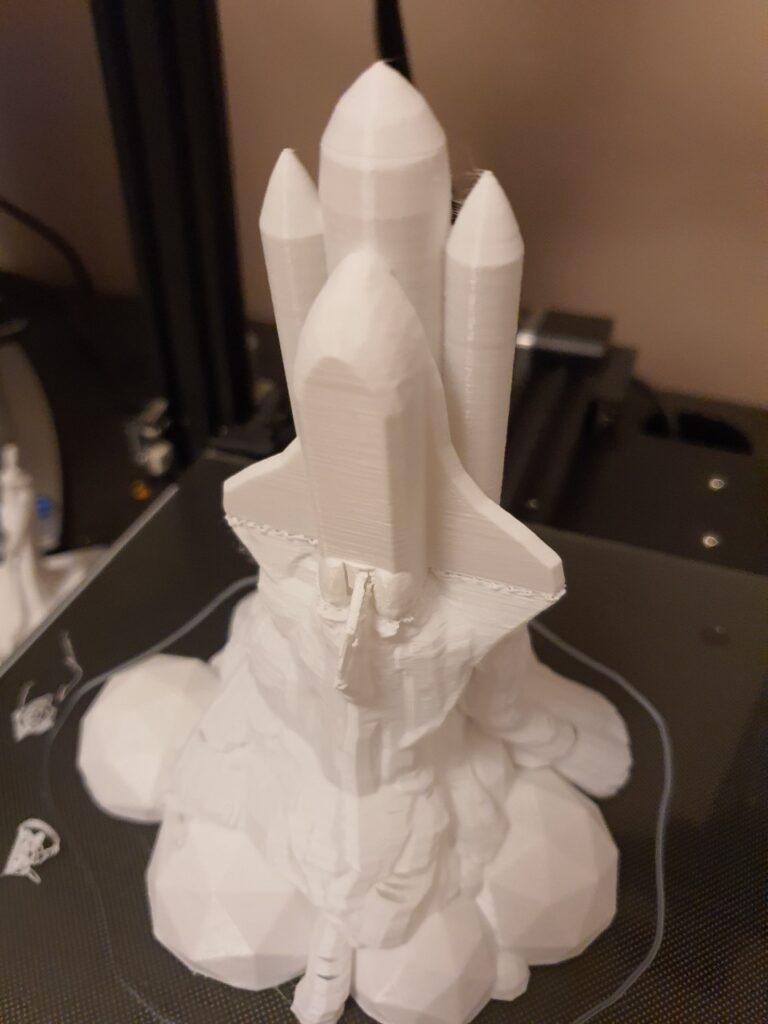
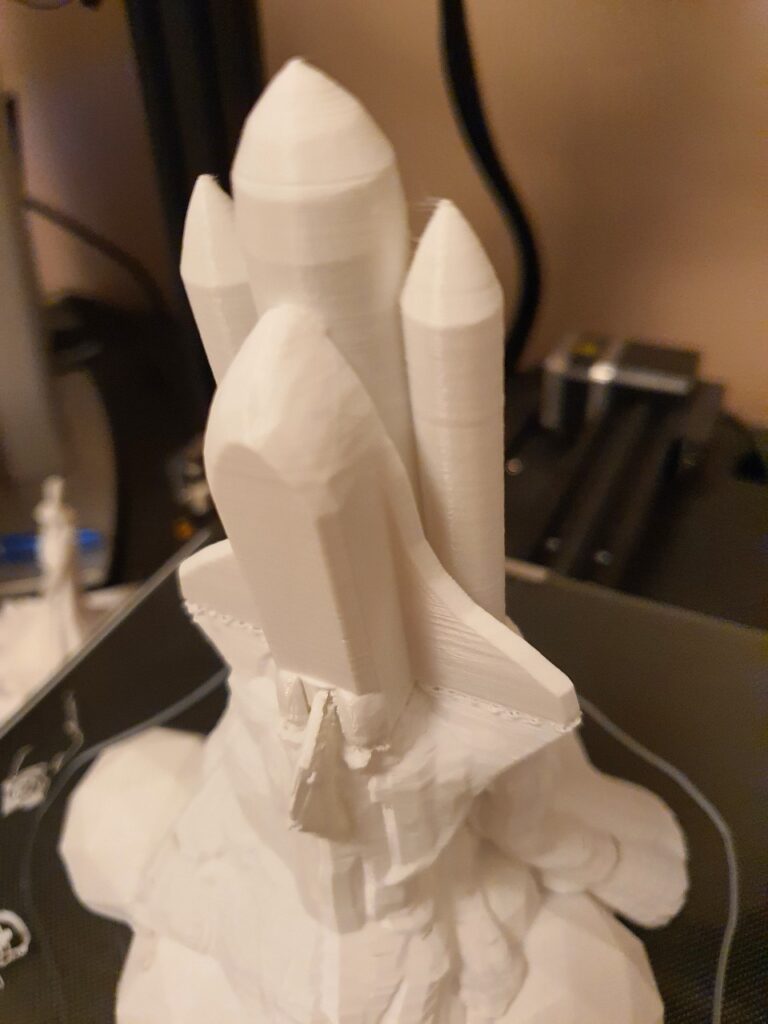
I only need to remove all unnecessary supports and I could start playing with my soldering station.
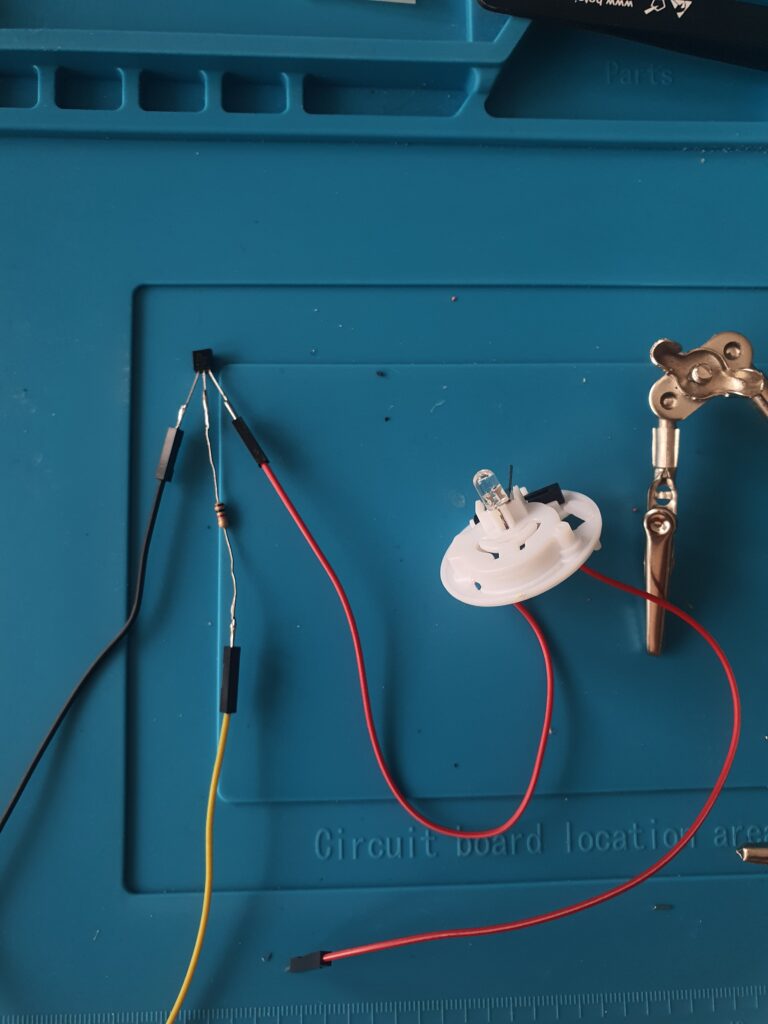
To create effect of glowing exhausting gases I figured out that I can use cheap Chinese LED candle (example on picture below).

Originally candle was not prepared to be controlled in any way so I needed to add transistor that was managing candle power source. To achieve that effect I chose 2N2222 transistor (because I had whole bag of them) with 1kΩ resistor connected to the base.
As a controller I wanted to use Raspberry Pi Zero W 2, because I’m using it in one of my previous projects (HubScreen).
Originally candle was powered by CR2032 battery (3V), so I decided to use 3.3V pin as a power source.
Programming
Hardware was prepared and tested – now was time to write some code.
Because I am using Home Assistant with zigbee2mqtt at my home so I wanted to control my Spacecraft via MQTT protocol. For this I created special library mqtt2exec that is checking broker topic and performs set actions after receiving command.

Library checks if received command was added to C++ dictionary (map object) and then execute function assigned to this command. Adding and removing commands is possible during work of library object – to avoid data races it use mutex object from Standard Template Library. To reach the best performance MQTT broker should has special topic (in my case mqtt2exec) for sending commands and commands length should’t be too big. Code used for the Spacecraft project can be found in example directory on GitHub – it’s receiving TurnOnSpacecraft and TurnOffSpacecraft commands and changes state of GPIO 20 pin.
To setup GPIO 20 pin (e.g. I need to set pin direction) and create background service (e.g. with automatic restart of application if any fail occured) I used systemctl service manager in Debian Linux.
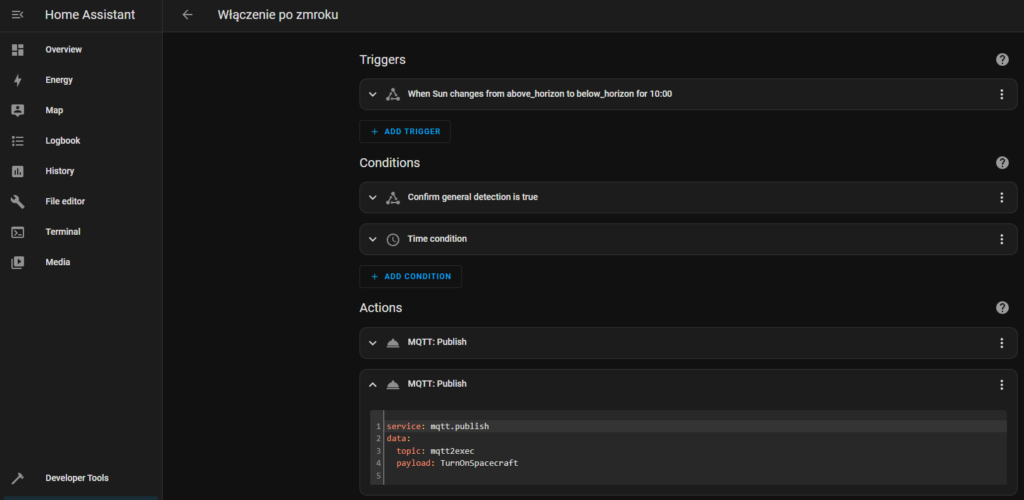
Now was time to add new action after sunset in Home Assistant automations…
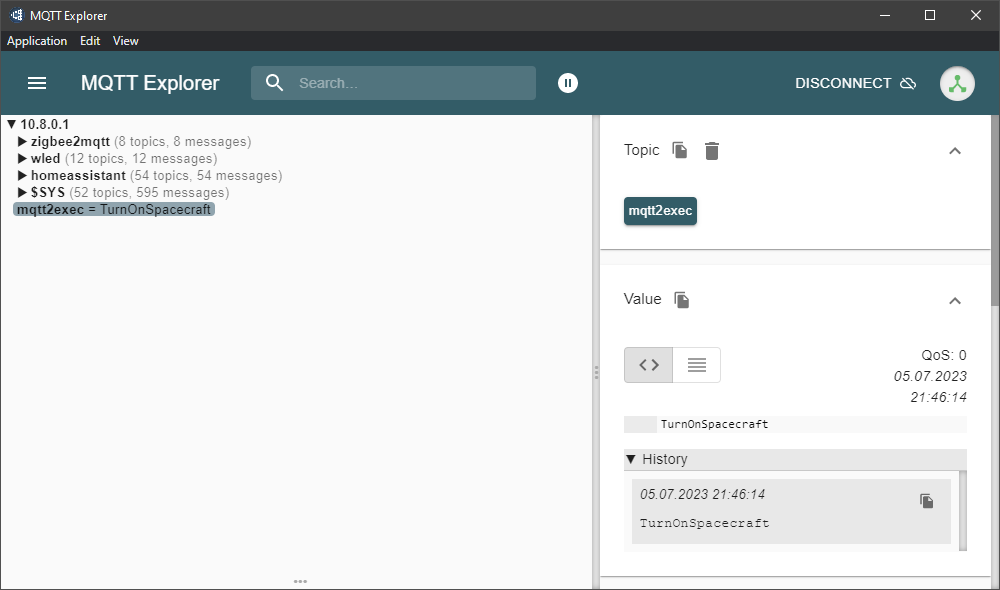
…and last debug checks in MQTT Explorer.
Finally everything was ready to work on it’s own.
Conclusion
The end result can be seen in the video below:
That was really fun and quick project. It’s really good add-on to my smart home IoT network. Now I also have library that I can use in future to control in very easy way different devices in my future projects via different networks (WiFi, Ethernet, etc.).